Goal
Control Panel
Marquee/Bezel
Cabinet
Coin Door
Computer
The Software
Visits:


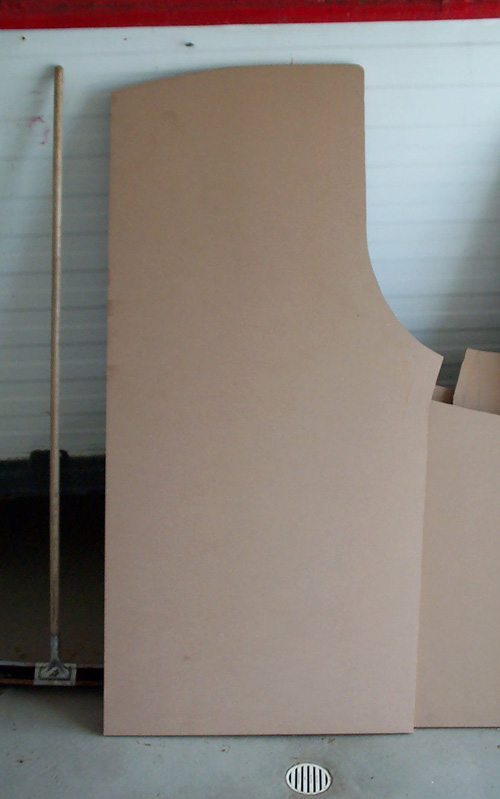 Then routed the edges with a slot cutter to make a groove for the t-molding. 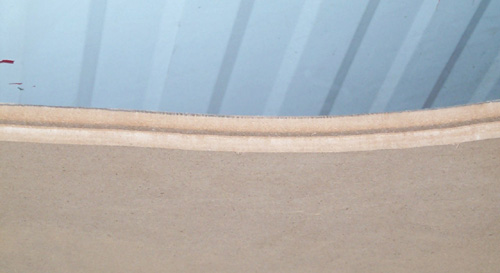 Next I attached some wood batons from scrap wood and started assembling the front and back onto one side piece. 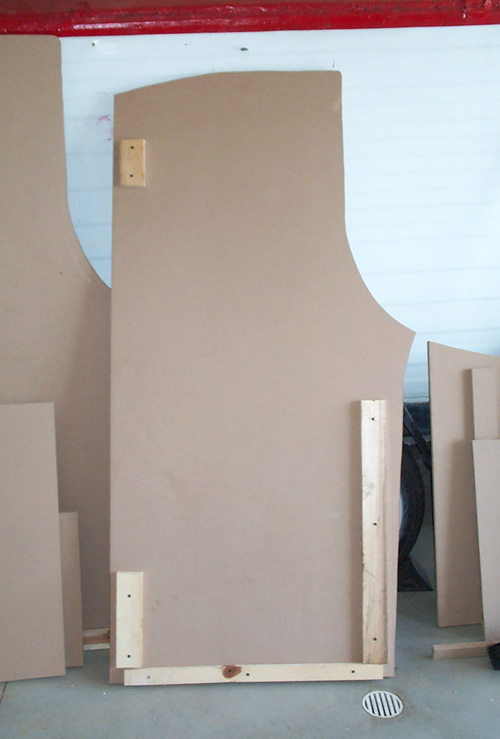 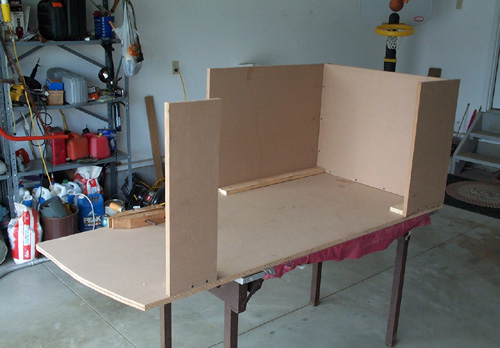 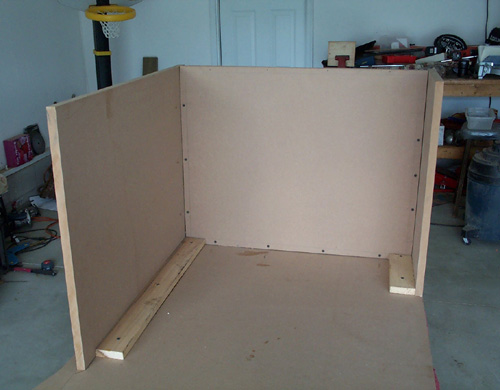 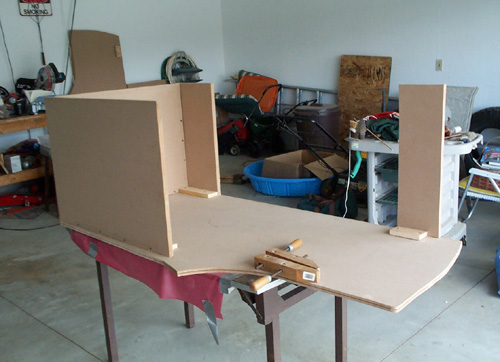 After assembled, here is the core outer structure of the cabinet. 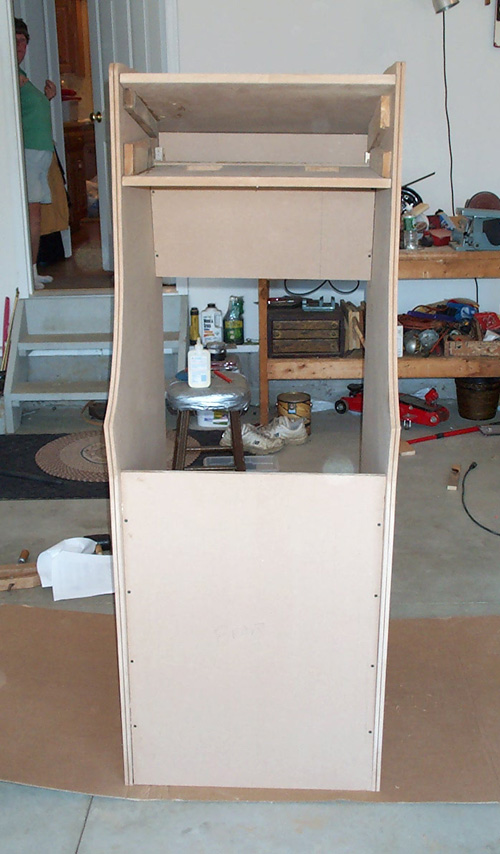 This is the monitor solution I came up with. The monitor sits on a self and has a 2x4 on each side holding it in place. The 2x4's can be slide out of the braket anytime the monitor needs removed. 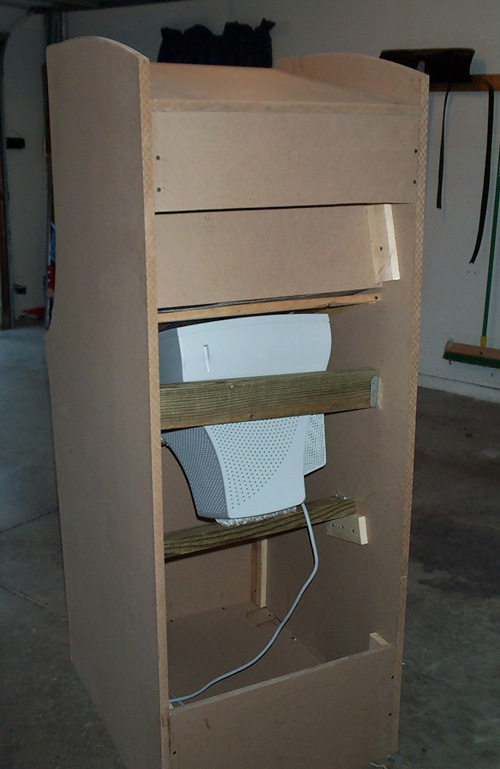 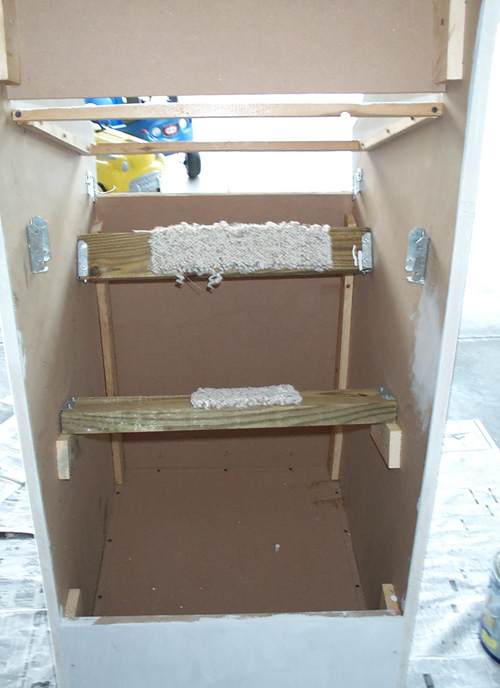 A test fit with the control panel in and a temporary card board bezel. 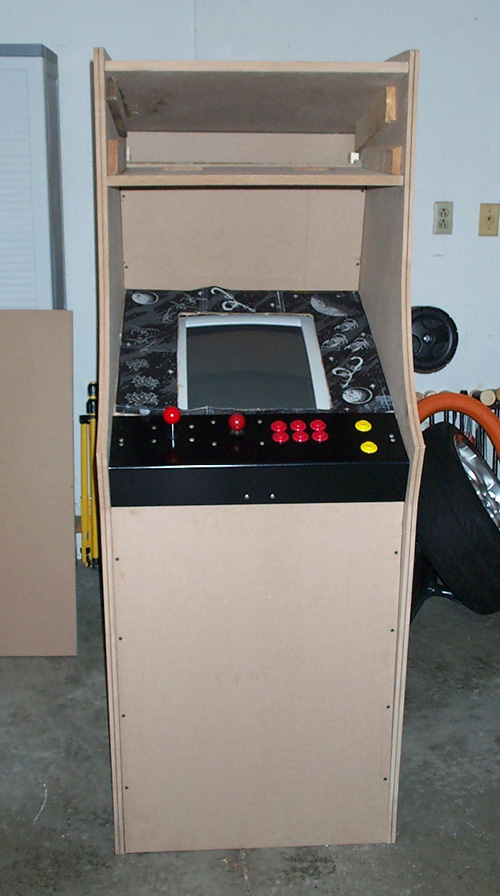 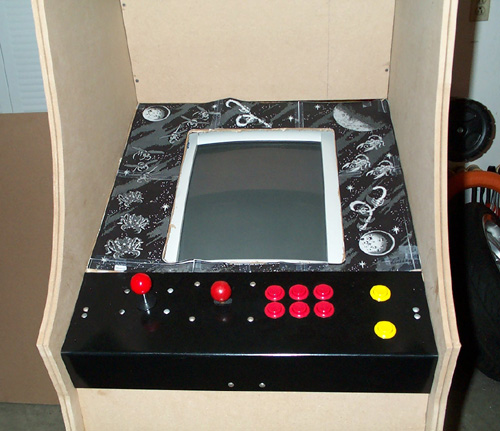 Everything is back out for a couple coats of primer. 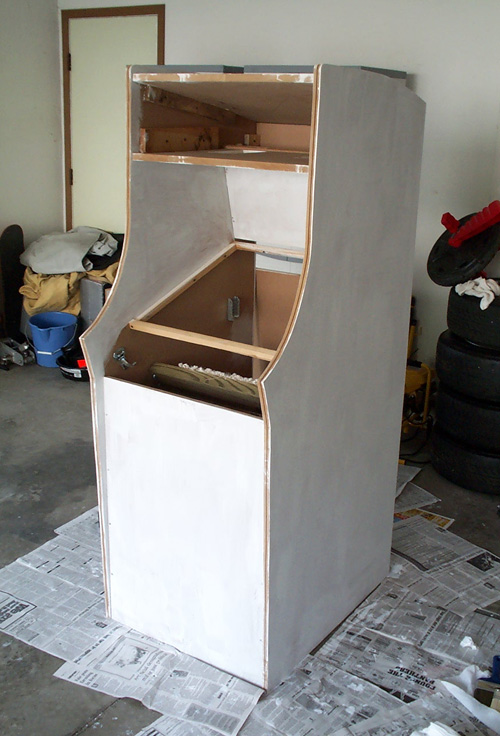 Now for some black paint.  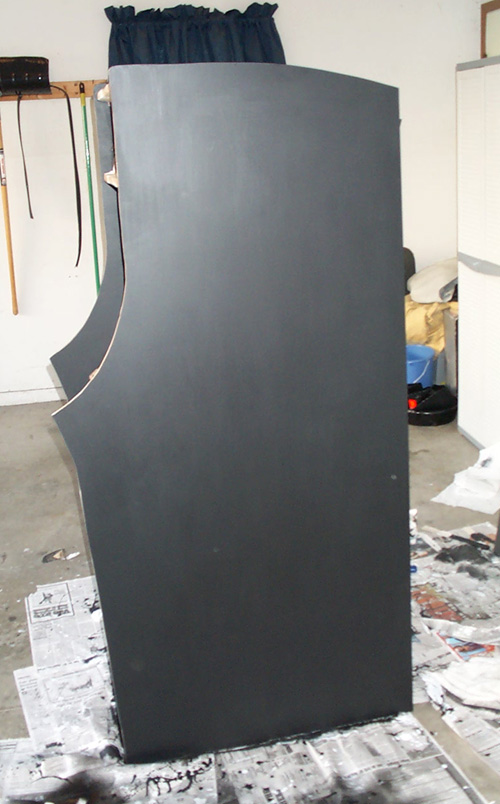 The door is held on by kitchen cabent hinges mounted backwards. 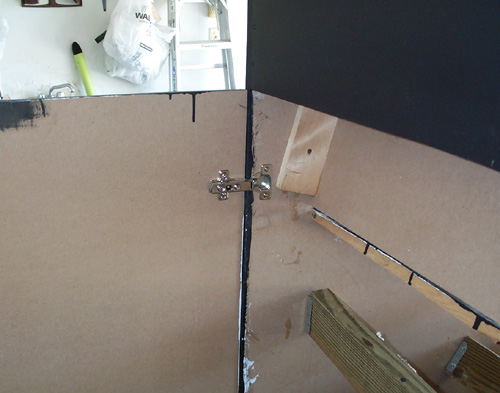 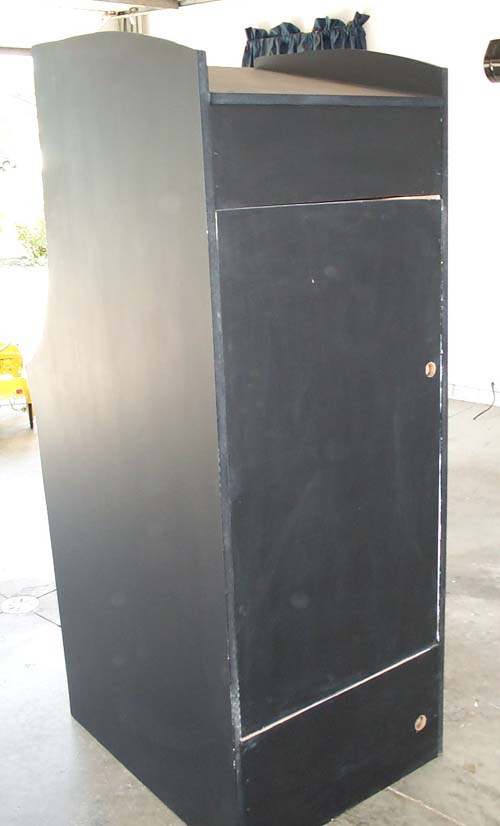 I finally got the side art and kick plate art on. 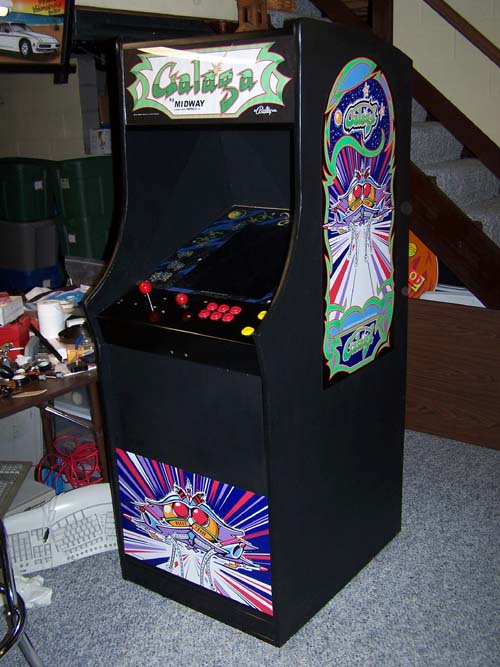 
|